Thursday, July 15, 2010

More pics..

Ok got some more pics uploaded.

The first two are of my only finished pieces. the shoulder hubs.

They look gold..ish, but it silver. It's automotive tape  I got at autoparts store.

The next is some body detail pieces I glued up. They're A&A flatpack skin extras. Thanks Andy!

Bunch of things!

I'm sorry that it has been so long since I last posted.
I've been working on a R5D4 dome.  I know. This is supposed to be a R2D2 but I decided to change it a few weeks ago. so here it goes!
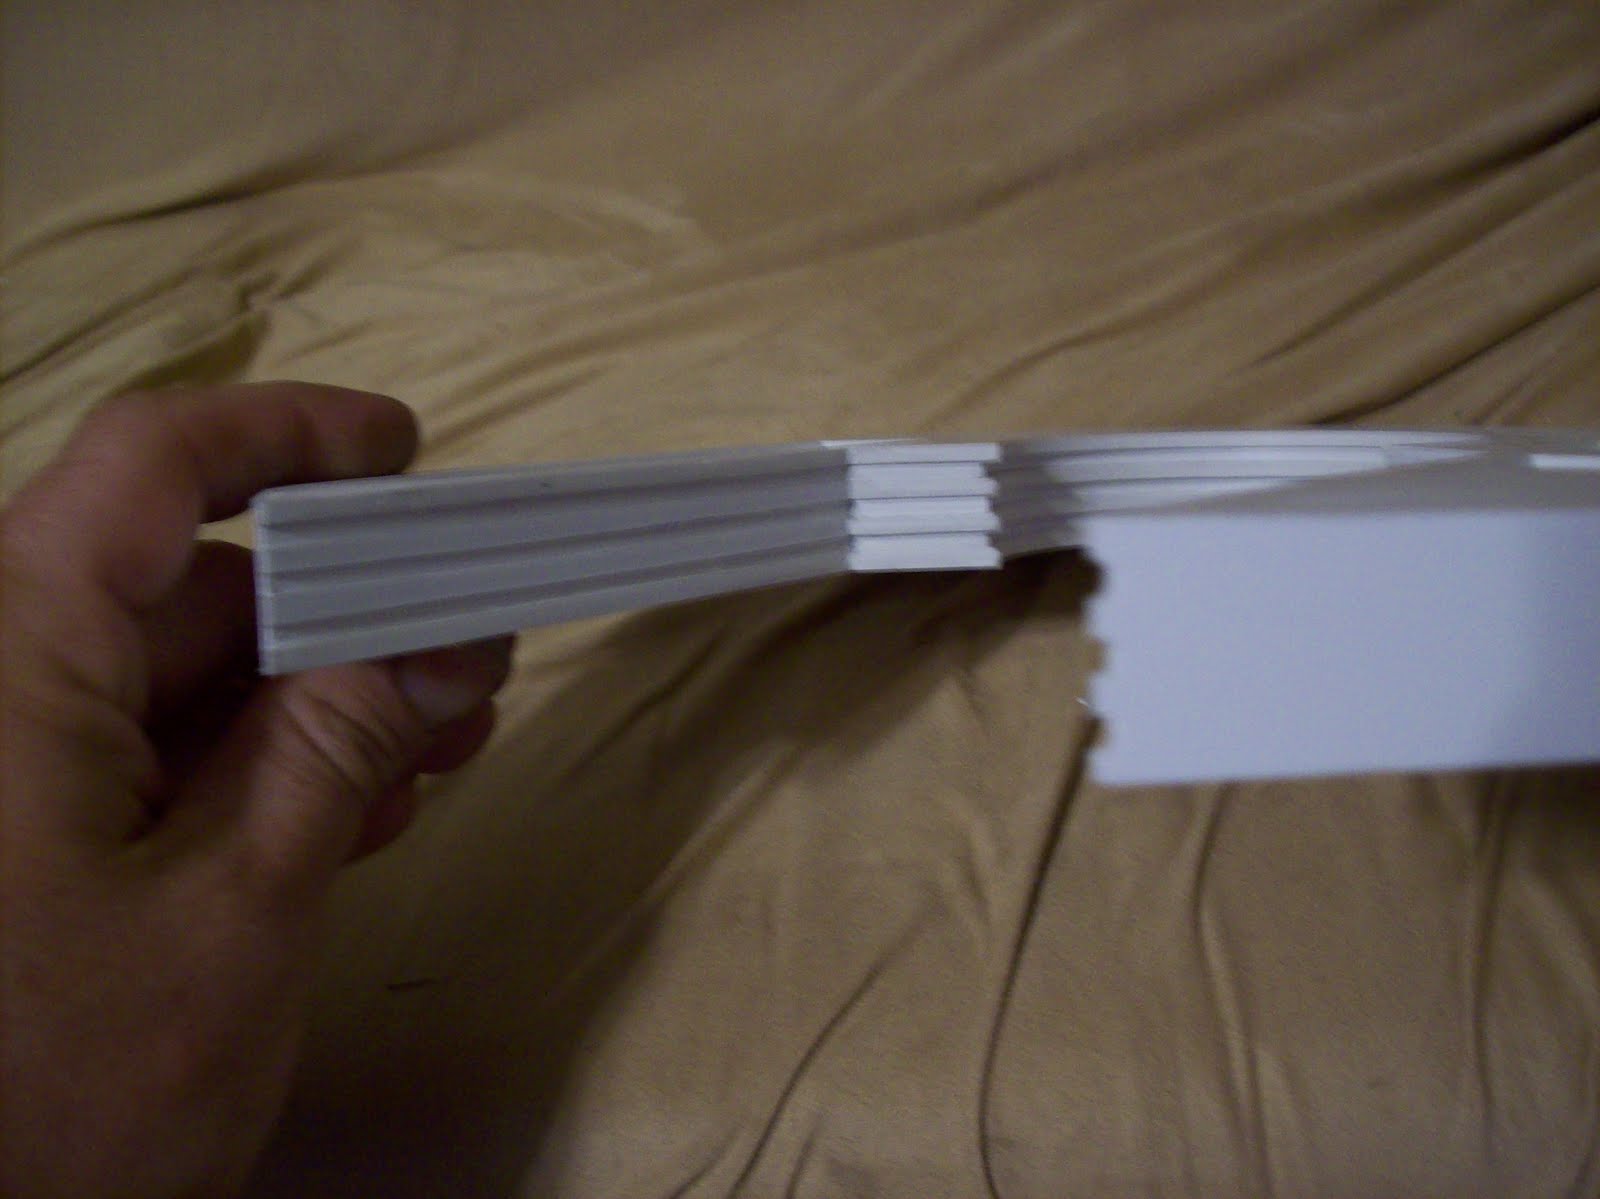
This first part is making the bottom ring. The sides will be 3mm thick. 3 seperate rings of  1mm styrene.

Lay out all the angles on the other side. These will bring the O.D. down to the neck size.
Now putting on the neck uprights on the double thickness neck ring. (6mm, 2   3mm pieces)
Now finish up neck ring with 2 more 3mm pieces. Lined up by bolts through both sets of rings.
Now glue on the bottom ring assy.  Aligning tool was made to make sure everything is.......aligned!
Her I put on 2 layers of 1mm skin on lower angle. Also glued in top dome frame and top plate, the front eye plate also installed.
All plans are courtesy of Dave Everett. Thanks Dave!!

Well, that's not all I have done but need to get pics uploaded first, will be back.

Friday, June 11, 2010

Horseshoes and shoulders

Primed horseshoe.
Thought i'd drop in the detail pieces. just to see how it'll look.

Got the screws mounted in the shoulders today. Was able to use the drillpress at work to drill the holes.
Then started mounting the screws. I used Nylock nuts on the inside, on one side. This way i was sure they wouldn't loosen on me later. then added the other nut on inside.
It was a pain trying to get a wrench into the inner ones to tighten them up.
Then they got skinned.
Will trim,sand, and file tomarrow. Also have alum. tape to go around them. Got it at O'Reily's. Will post pics later.

Shoulders

 Got one shoulder done last night.

Still need to make shim.

Sunday, June 6, 2010

Legs... Skirt....

Well, been a long time since last update. Have been able to get alot of leg and foot work done. Have one leg ready to final drill the holes for the shoulder mounting bolts. The other i just finished skinning and cleaning up to give first coat of primer.


Also have one main ankle primed .


Will get these and another  main ankle done, then hit the bad spots w/ some bondo. Then more sanding and more priming.

Have also been working on the skirt.

The side pieces are not long enough. Didn't notice, till I mocked up the piece of 1mm, that will go around the ends. Will have to figure out something to do, because it's all glued in now.
The skirt has been my bane on this project. Had a very hard time wrapping the 3mm pieces around the ends. They wouldn't stay in place even after letting glue dry for 2 days. But finally got them to stay put.

Tuesday, May 25, 2010

Finish skins, Test paint,

Have all of R2's skins cut out. Still need to finish the panels on both outer skins.


The small marks on the sides of the cut-outs are numbers, I still have the template on. Will draw a picture and number them the same, which will match the cut-outs' numbers. That way I'll know which pieces goes back where.

Sanded the primer off the coin slots. It would almost rub off!!!. Also sanded the utility arms. Then a good coat of primer. Will get some 200-400 grit sand paper tomarrow and lightly sand them with it. Then another light primer coat.


I pulled out a big piece of scrap styrene to do a paint test. I lightly sanded it, to rough up the surface a bit. Then a coat of primer. After it dried, a coat of Rust-Oleum Metallic Cobalt blue. Let dry about 15-20 min. Then a coat of Dupli-Colour anodized blue, then let it dry. Didn't have any clear coat yet.
I couldn't find any deep purple so went w/ cobalt blue. I really like the way it turned out.

First is w/o the flash. Second w/ flash. Both indoors at night. Will post pics off daylight outside tomarrow.

Oooppps second one blurry. sorry.

Hopfully more tomarrow!!!

Sunday, May 23, 2010

Back at it, again!!!

Been working at a lot slower pace, the last few weeks. Started R2's new shoulders.


Also worked on the other leg.


And a main ankle.


Got some resin parts too! Thanks Keith!


Cleaned them all up as instructed and thought i'd prime the coin slots. Well the primer just scratches right off!
  I either need to rough up the surface a bit or use better primer.
Could't resist putting the shoulder hub in the near finished leg.  It's a little high on the bottom. So after investigating I found it sitting on the leg tube.


A little grinding with the dremel  and voila!


Still a little off to one side. will look at it again.

Now have started hand cutting the skins. At this point have both inners and front outer.


Will try to get outer back done this week.
Whew! all for now!

Sunday, May 9, 2010

Legs, Messed up shoulders and ankles

Well, got very little done this week. Have one leg almost put together. But I really don't like the way it looks. I think it's structurally sound. I guess if it looks good on outside, that's what will count  Will need to file my edges before wrapping it in 1mm. Also need to put on last side piece of 3mm.


Messed up on the center ankle. There are sets of strips the go from top of ankle to the bottom of the curve on the outside 3mm piece. Well, when I scored the placement marks from the template, I went all the way to the bottom of the ankle, and then glued the strips to far down.


I should be able to cut them back close to the curve w/o scaring the base. Then sand to flush w/ curve.

Now the shoulders. Not posting pics on these, but believe me when I say that you NEED a drill press to drill all the holes in the shoulder! If not you take the chance of putting them in at a angle!  Just like me!!!!
 I didn't like the way they turned out anyway. I had a couple of gaps between the slats and the discs, and one set somehow got out of round. so.....

Well now is when I need to say that I will be taking a few weeks off from building. I start the repairs to my house, from the flood damage, from last week. I do have a order submitted for resin coinslots and utility arms.
 So I guess getting needed parts is still progress. Oh, will get a couple pieces of much needed 1mm styrene too!

Monday, May 3, 2010

Noah

Well, been an instrasting weekend! We had at least 10-12 inches of rain here Saturday night. Woke up to take dog out, had 3.5 feet of water in front yard!  needless to say r2 building has stop till further notice till I'm back on my feet. Will be updating.

Friday, April 30, 2010

More assembely

Well, continued gluing today, Frame done.

Shoulders done, except for 1mm wrap. I drilled my holes for SAE threads. [US fractions]  Using 1/4" for 6mm. 3/4" for 20mm.
I noticed that when I installed the bolts through the shoulder that they angled out a hair. Hopefully it will be OK.


Got the first part of the skirt glued up. A couple of the spacers between the plates weren't touching one plate so I added some extra pieces.
Also glued up the main part of the middle ankle. Drilled and tapped for 1/4"-20.  When I drilled, it started to split the layers. Maybe I didn't let the glue fully cure. What I will do, is to put 5 bolts through the ankle between the 4 strip pieces. Probably use 10-24 bolts to keep the laminates together.
They won't be seen when the outer cover and trim pieces go on.

 Ran out of spray tack so can't put on any more temps till I get more.

Thursday, April 29, 2010

Frame and Shoulder Construction

Sorry, It has been a while since my last post. Been real busy with work and family.
But with that said, I did take off 3 days this week, plus weekend. = 5 whole days to build.

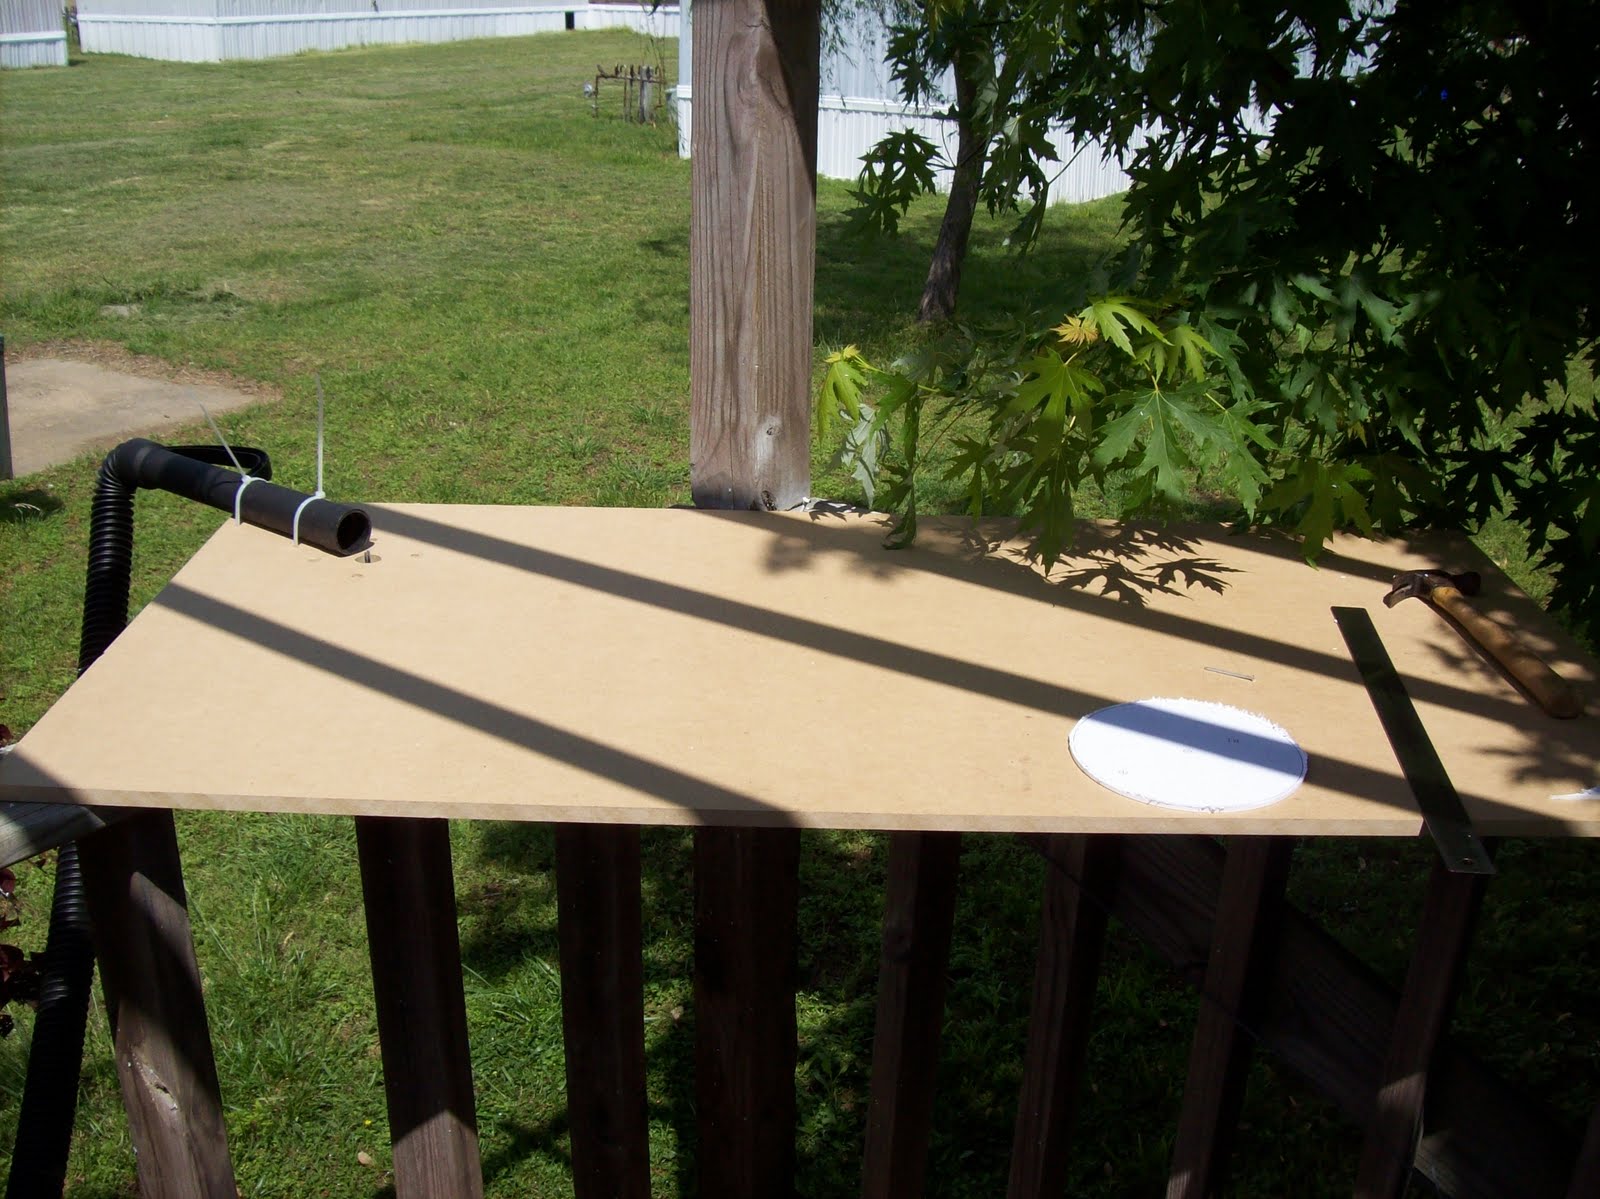
Mon. and Tues. bought a bunch of stuff. Trim router, 2x4 piece of 1/2" MDF for table, clamp of all sizes, files, ect. Also my package came in from Tap Plastics w/ tin of Weld-On 2354, syringe bottle, and a cutting mat.
21.00 USD at Harbor Freight.   Here's the router table set up on porch.
The tube is an after thought. It is a shop vac hose. This thing can make a HUGH mess...

Did most of my circular cutting done yesterday. started glueing up lastnite and today.
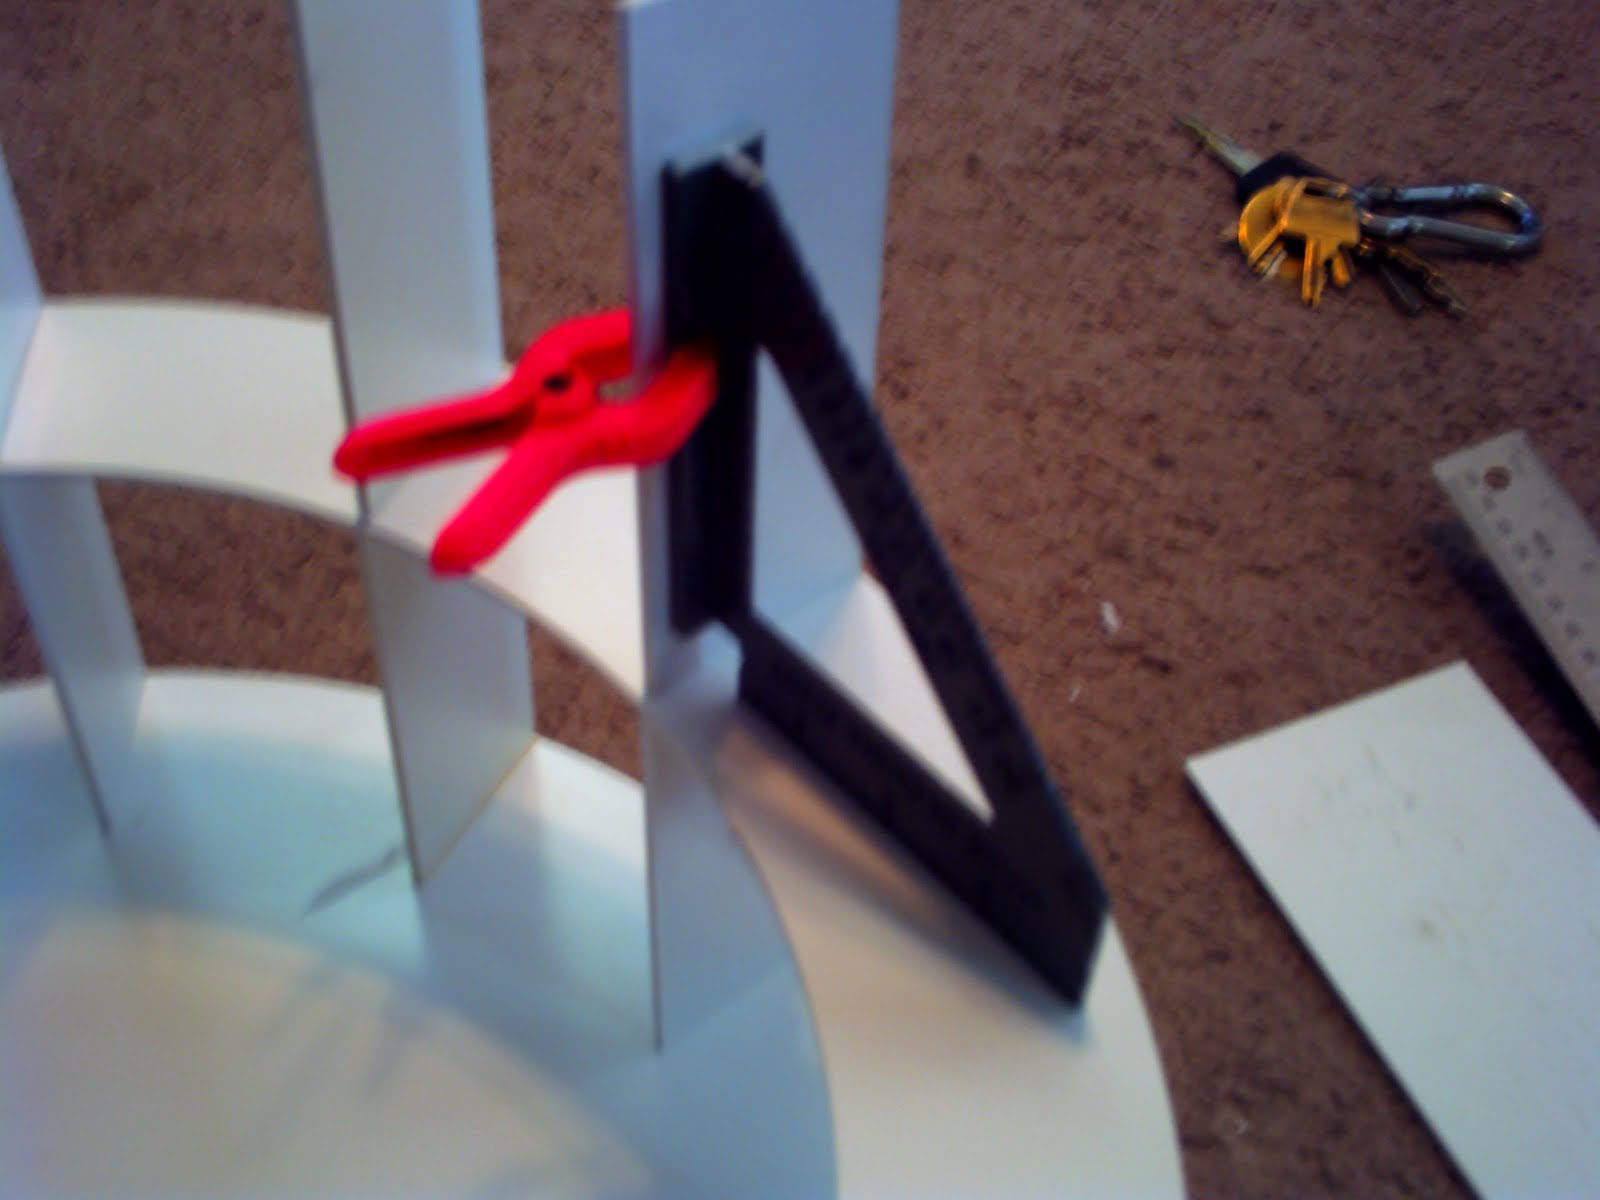
At Harbor Freight I bought 2 aluminum speed squares, used for wood framing. 2.00 USD a piece. Took them to work and put them to the bandsaw. Cut the length down to 4" from 12", and cut out a notch in the 90 degree corner. That way glue won't get on the corner and spread it all over.
Then I use one of my mini-clamps, also from HF, and clamp the flat side to the piece and push it all flat, The wieght of the square holds it plumb.
Sorry, bad picture.
Was also doing the shoulders while waiting for glue on frame. Got  got one side glued up tonite,and drilled. Don't have 1mm yet to skin them, so will set them back for now.